Friday 17 June 2016

Great Cakes Soapworks June Challenge - Sculpted Layers

Here is my entry for this month's soap challenge. We had to cut out templates and use them to sculpt the soap into a layered design.


I had a look around for some inspiration and I came up with the idea of a skyline silhouette. I wanted a design where the skyline reflection was mirrored as a reflection in the sea underneath.

I found a skyline which had a shape that I would be able to replicate. As I needed three sculpted layers for the challenge, I chose to make a layer for the reflection, a layer for the buildings in the foreground and the layer for the buildings in the background.

I had a first attempt at this and found that it was much easier to make indented sculptured layers than raised sections as they kept dropping and wouldn't hold their shape very well which meant the tallest tower sank. I decided to make the soap in two halves and stick them together with black soap to get the  most defined layers.

I used clear polypropylene sheets to trace out my design and glued matchsticks onto the back of sections that needed the most stability.


The image above is from my original design, I had to invert and re-cut the pieces for my final soap but I was in a bit of a rush and forgot to photograph the second time around and the pieces after attaching the matchsticks!

I made the top half first by pouring the red and orange sky, then creating the pale grey background buildings, then the foreground dark grey buildings.


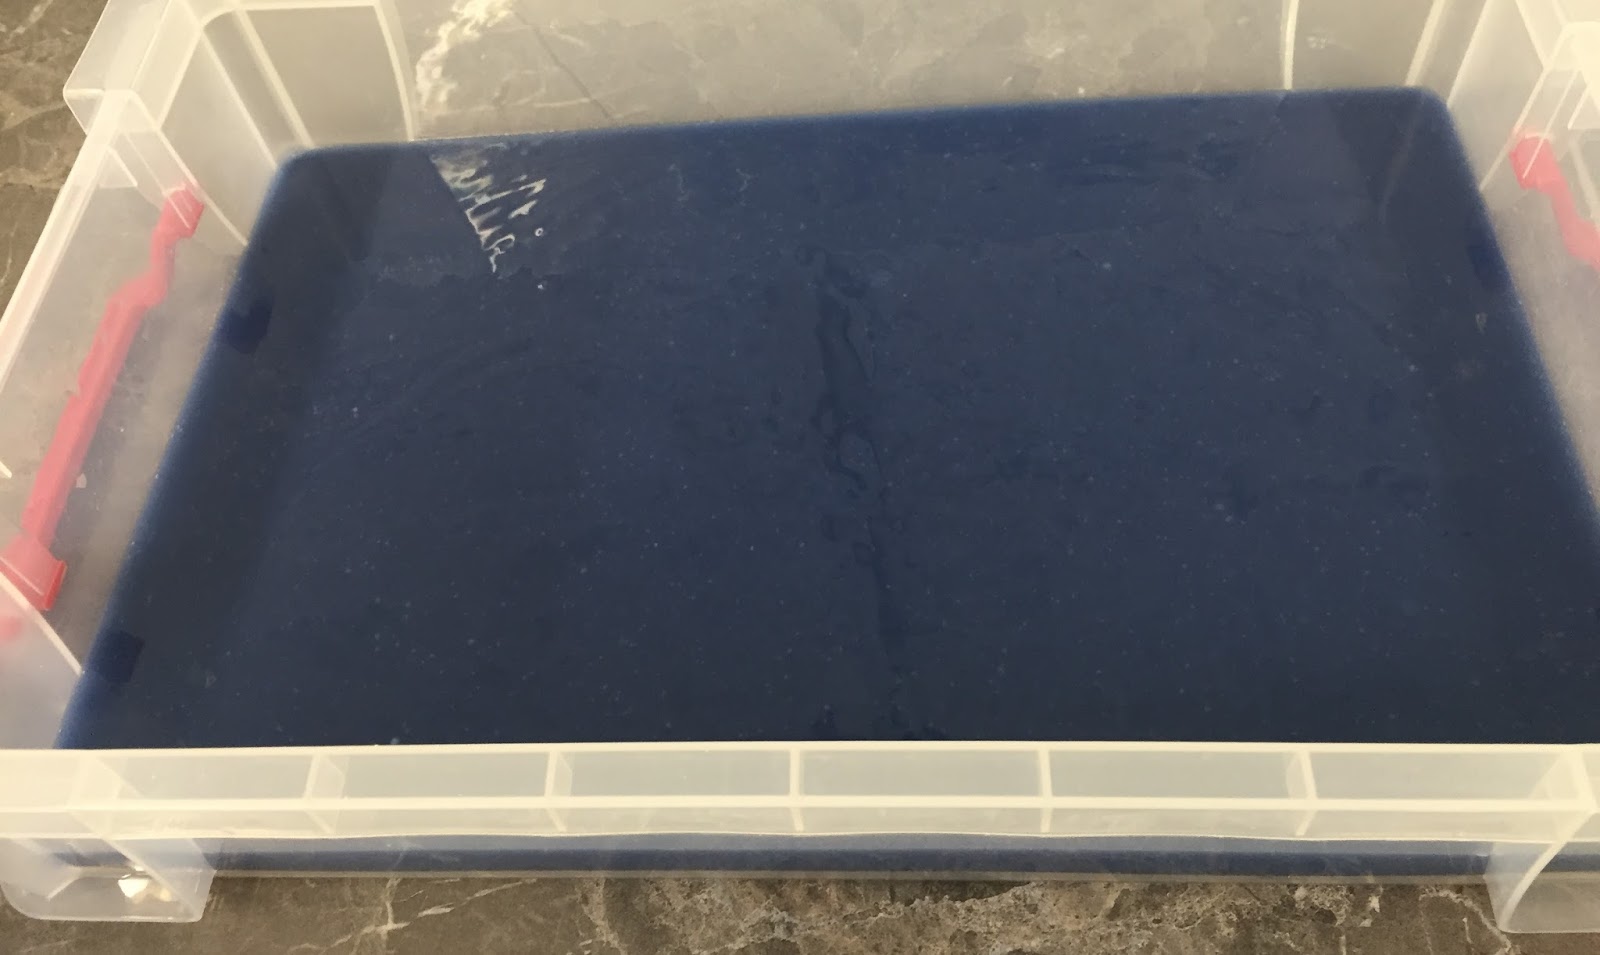
I left this section to set overnight then poured the blue sea layer. I allowed the black to set up until it was just firm enough to hold the soap I had made the day before. Then I pasted the two together with some more wet black soap.


I allowed the block to set overnight and cut the following day.

I used a 40% lye concentration for these soaps as it makes nice hard bars that can be unmoulded and cut quickly and I used a fragrance that accelerates a little called cashmere. I don't normally use it for cold process soap as it traces way too quickly. I dropped in a small amount bit by bit into the batter to prevent it accelerating too quickly on me and found that it didn't trace as quickly as I had wanted or expected. I may try this another time when trying to work with fragrances that move really fast.

Here is my first attempt where the upright buildings weren't as defined as I would have liked and my two shades of grey were too similar to each other.


I hope you like my entry. Another really interesting challenge and a technique that I will definitely use in the future!

I have also cut out the pieces for another go at this technique. I am going to attempt the Taj Mahal. I was a bit worried that the tower elements would be too thin which is why I concentrated on the skyline for my entry, but I am definitely going to have a try with the other design when I find a spare minute! I have included a picture below of the three pieces I have cut out. 


Thanks to Claudia for sharing and Amy for organising the challenge.


Saturday 28 May 2016

June SMF Challenge - Mosaic Soaps

This month it is my turn to run the SMF soap challenge. I chose the topic of mosaic soaps as I haven't seen it done for a while and I like the versatility of the technique. I can't wait to see what all the soapers who choose to participate will come up with! I absolutely love seeing all the creativity and talent from the soapers we have on the forum.

Here is the mosaic soap I made for the demonstration of the technique.


You can find the video tutorial along with lots of other tutorial videos for the other challenges that have been organised previously here -

https://www.youtube.com/channel/UC9bN3rFKI_AyHN1ses6bpfQ

Once the challenge is over at the end of the month, I will add a link to the entries and the winner. Feel free to pop over to the forum, we are a friendly bunch and if you participate on the threads for a while then you will be able to enter the competitions.


SMF May Challenge - Interpretation not Imitation


This month, the challenge on www.soapmakingforum.com was a tough one for me. Were given several images of birds to look at and asked to choose one that stood out to us. Then using colours from the photo, we had to take a feature or a feeling or something about the picture that struck us and translate it into our soap design.

I chose the image of the bird shown below


The bird picture I have used is the one that most appealed to me. I love the colours of the birds feathers combined with the green background of the leaves. The colours I chose for my soap were a green from the background of the image and a couple of shades of blue from the feathers combined with the black and white which are also colours from the feathers.

I love the way the birds feathers are splayed open and the image gives a feeling of complete freedom. I have tried to reflect the lines of the long wing feathers in my soap design. I made it in a square soap mould, by placing dividers into the corners and filling with the different shades of color, then I filled the rest of the mould with the green and used a skewer to create the lines. My soap is scented with a mixture of pine and cedarwood essential oils with a touch of juniper as I felt it went well with the overall look and feel of the soap.

Here is the finished design, I hope you like it!


Saturday 14 May 2016

Great Cakes Soapworks May Challenge - Droplet Swirl

This month's challenge was incredibly challenging for me. I had so many goes at this trying to nail it, I think I will have enough soap to wash with for fifty years! I finally achieved a droplet that I am happy enough with to enter so here it is!


I only poured a small amount of batter into the bottom of the mould before pouring in my droplet colours as I like the droplets which have a long thin stem.

My bars are scented with a blend of spearmint, lavender and rosemary essential oils hence the mica colours that were chosen.

The mica was purchased from http://www.u-makeitup.com/ and the colours used were purple passion, lime, dreamy aquamarine and some titanium dioxide and activated charcoal for the black.

I thought I would also post some of my other attempts in order to show you how challenging I found this challenge to be. Getting a droplet shape was not easy for me!

I loved the colour of these and all the layers within the droplet, In real life they look much brighter and more vibrant. I was gutted that the outline turned out wobbly. I think it was because I poured the sides with a squeeze bottle rather than a jug so the pressure forced the batter into the mould unevenly.


I was also disappointed that this attempt wasn't a better shape. I allowed the central batter to touch the sides which resulted in the teardop having a line underneath it.


There were also lots of other attempts, some with no droplet at all, others with triangular shaped patterns and one where I used an accelerating fragrance which set up on me so fast that all I got was tiger stripes across the middle of the bar.


And here as promised are my other six attempts!!! 

Thank you for another great challenge Amy :)


Wednesday 13 April 2016

Great Cakes Soapworks April - Location Challenge


It’s been a while since I last entered the great cake’s challenge as I have been busy getting my little soap company off the ground. But when I saw the challenge this month, I jumped at the chance to have a go. I love the themed challenges and this one really appealed to me.


Here is my entry for this month’s challenge. It is the Mayflower, the ship that the Pilgrim Fathers sailed across the ocean in searching for the new world. They departed from Plymouth on the 16th September 1620. 

My favourite drink, Plymouth Gin has an image of the ship on the bottle, so it is one of the first things I think of when I think of the city.

We have a memorial in the harbour at the mayflower steps which is said to be where they boarded the ship for their long journey. There is also a beautiful replica of the ship in the Mayflower museum right next door. http://www.plymouth.gov.uk/plymouthmayflower

We sometimes have tall ships stopping in the harbour and I love them, they are so beautiful. It is astounding to me that they made it over such isolated treacherous seas with people living aboard for months on end. I'm not sure it's a journey I would be able to face myself! 


The soap is made in a slab mould using 100% cold process soap by making embeds then moulding more soap around them and cutting them again. I used 40% lye concentration so the soap hardens up really quickly and can be cut within a few hours.

The soap is coloured with ultramarine blue, a touch of chromium green, titanium dioxide and the brown is chestnut mica, I scented just the base with Island Fresh fragrance which is a marine type fragrance, it accelerates so the embeds aren't fragranced themselves. 

I started by pouring a slab of brown soap for the masts 


Then I drew the image of the sails onto some greaseproof baking paper and put it into the mould - I cut the brown soap into strips and put it into place over where I wanted it to stay. I held it in place with a dab of petroleum jelly. 


I then poured over white soap batter and allowed it to set. The next day, I used a small kitchen knife and some wax carving tools to cut out the sails. I used a wire cutter to cut the slab in half to reveal a sharper image from the inside of the embed so I had two mirror image versions of the sails. Partially in case anything went wrong so that I could have a  second go, fortunately that wasn't necessary!


I did the same with the brown hull of the ship


At this point, I then had a fully assembled embed ship


Then I poured the fragranced base into the final mould and allowed it to set until it was the consistency of pudding. 


I then assembled all my boat parts and allowed them to set in place


When the batter had set up enough that the embeds would stay in place, I poured the top layer. I added some extra embellishments to the ship in the form of windows. Added more blue batter to top up the soap so it was in line with the embeds and added clouds and waves to the sea. Here is the finished soap while it was still wet. 


I really, really enjoyed making this soap and I hope you enjoy looking at it too. Thank you for organising the challenges Amy. I would never have a reason to make soap like this if it wasn't for you.